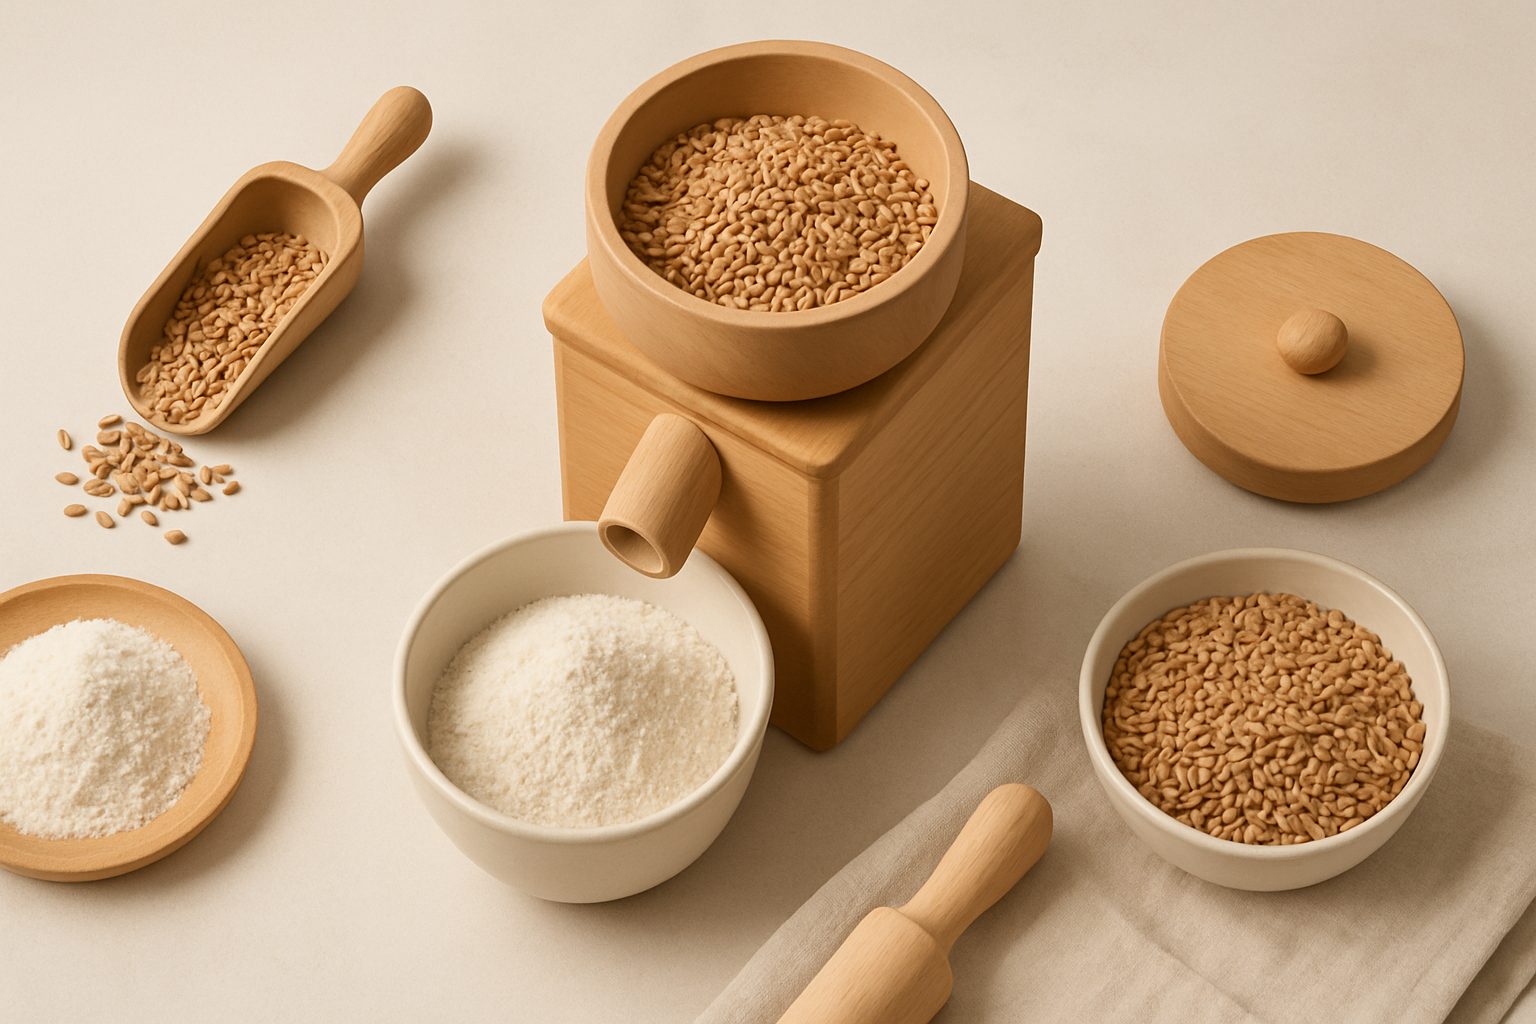
How to Make Wholemeal Flour at Home UK: Step-by-Step Guide
Making wholemeal flour at home is straightforward once you understand the fundamentals. Unlike buying pre-milled flour that loses nutritional value over weeks, home-ground flour retains the bran, germ, and endosperm in their freshest state. This guide walks you through the process, from grain selection to storage, so you can mill your own flour reliably.
What You'll Need
You'll require whole grains (typically wheat berries), a grain mill, and somewhere cool to store your harvest. The grain mill is the critical component—most kitchen blenders won't work because they generate too much heat and can't produce consistent flour fineness. Burr mills, whether stone or steel, handle whole grains properly without overheating the flour, which preserves nutritional content and flavour.
Whole wheat berries are your starting material. They're shelf-stable for years in dry conditions, so buying in bulk is practical. UK suppliers include health-food shops, online grain stockists, and some wholefood cooperatives. Look for grains labelled as suitable for milling rather than animal feed grades.
The Basic Process
Step 1: Prepare Your Grains
Whole grains often contain dust, small stones, or chaff. Pour your wheat berries into a bowl and inspect them carefully. Some people use a grain cleaner (a mechanical sieve), but examining by eye works for home quantities. Remove any discoloured or obviously damaged grains—they're rare but worth filtering out.
You don't need to wash the grains, though some prefer a quick rinse and thorough drying beforehand. If you do rinse, air-dry them completely for at least 24 hours, or moisture will gum up your mill and affect flour quality.
Step 2: Mill Your Grain
Pour the prepared grains into your mill's hopper. Set your mill to a medium-fine setting if you're new to this—finer settings take longer and generate more heat. Process in batches rather than dumping everything in at once. Most mills have a maximum batch size to avoid binding the mechanism.
The flour will emerge warm, which is normal friction heat. This is actually beneficial because it slightly reduces moisture, helping the flour cool and dry quickly.
Step 3: Cool and Settle
Spread fresh flour onto a clean cloth or baking tray for 20–30 minutes to cool completely. Warm flour appears slightly damp and can compact during storage. Once cool, sieve it once through fine mesh to catch any bran particles you'd prefer to remove, or skip sieving if you like your flour coarser.
Achieving the Right Texture
Wholemeal flour varies depending on mill setting and grain moisture. Here's what to adjust:
- Too coarse? Run it through the mill again at a finer setting, or sieve through progressively finer meshes.
- Too fine and powdery? You've over-milled. Next batch, use a coarser setting and stop when flour looks like breadcrumbs.
- Damp or sticky? Your grains held moisture. Dry them longer before milling, or store the flour in an airtight container with a desiccant sachet for a few days.
- Clumpy after storage? Sieve before use or spread on a baking tray and warm gently in a 60°C oven for 10 minutes to drive off moisture.
The ideal wholemeal flour texture is fine but slightly grainy to the touch, with no visible lumps when sieved.
Nutritional Advantages
Home-milled wholemeal retains 100% of the wheat grain—bran, germ, and endosperm. Shop-bought wholemeal flour often sits for weeks before reaching your kitchen, during which B vitamins and oils begin to degrade. Fresh-milled flour has higher vitamin E, B-complex vitamins, and more stable oils because you're using it within days.
The fibre content is genuine—roughly 7–10 grams per 100 grams of flour, depending on grain variety. This supports digestion and stable blood sugar compared to white bread flour. Mineral content (iron, magnesium, zinc) is also substantially higher in wholemeal because these concentrate in the bran and germ layers.
Storage and Shelf Life
Store cooled flour in airtight containers—glass jars or resealable bags—in a cool, dark cupboard. Whole grains stay stable for years if kept dry. Milled flour is more vulnerable because the oils in the germ become exposed to oxygen. Use home-milled wholemeal within 3–4 weeks for best flavour and nutrition, or freeze it for up to 3 months.
If you mill regularly, store your whole grains in sealed containers with bay leaves or dried lavender to deter weevils, though this is rare in UK kitchen conditions.
Common Issues and Fixes
Mill slows or stalls: Your grains are too wet. Stop, spread them out to dry for several hours, then try again.
Flour smells musty or rancid: The grain or environment was damp. Use only thoroughly dry grains and store finished flour in sealed containers away from humidity.
Inconsistent texture, some chunks: Your mill setting is too coarse, or grains weren't clean. Resieve the batch or re-mill through a finer setting.
Flour tastes bitter or burnt: You're milling too fine or too fast, generating excess heat. Use a coarser setting and mill in smaller batches.
Next Steps
Once you're comfortable milling, you might consider investing in a larger mill or trying heritage grain varieties like spelt or einkorn, which offer different nutritional profiles and flavours.
Ready to get started? Choose the right mill for your needs by reading our guide to the best grain mills for wholemeal flour, which covers stone versus steel burrs, capacity, noise levels, and value across different budgets.
More options
- KoMo Electric Grain Mills (Amazon UK)
- Mockmill Stone Grain Mills (Amazon UK)
- NutriMill Harvest Grain Mill (Amazon UK)
- Manual Hand Grain Mills (Amazon UK)
- Wheat Berries & Milling Grains (Amazon UK)